Now that it’s getting a little colder, you’re probably starting to think about how to keep your home warm this winter. If you’ve never installed a window insulation kit, they can be a great way to keep cozy without asking more from your HVAC system and raising your monthly bills.
While there are plenty of ways to maximize your home energy efficiency, window insulation is an easy DIY project that anyone can accomplish. So, for an additional energy-efficiency boost, let’s explore what a window insulation kit can do for you.


Will a window insulation kit work for you?
There are a few things to consider before diving into this project. Window insulation kits aren’t a long-term solution for a window that is no longer functioning. Before you explore further, make sure your windows are in decent shape. If you only get cold beside certain windows, you may have drafty windows. The seals could be worn out or the window may no longer close completely. It’s possible to repair a drafty window on your own, but if your window is still under warranty, you may want to get it looked at professionally. Next, if you live in a particularly snowy or stormy climate and are wondering how to weatherproof windows for winter, take a look at your window frames. If you’ve ever had leaking or damp windows, check carefully for any black spots. If you find any, you’ll want to proceed with caution. Those black spots are likely mold and could be dangerous to your family’s health. Mold around your window frames can get into your walls and compromise your home’s structural integrity. See if your window frames and nearby walls feel cool or damp to the touch. In this case, window insulation may not be the best move—if you seal up these moldy windows, you’ll just create a breeding ground for more mold. Leaking windows need to be treated with care. While there are some DIY solutions you can explore for fixing your leaking windows, it may be best to call in the professionals.DIY Window Insulation Kits: A Complete Guide
For homeowners with older houses in extreme climates, buying and applying window insulation kits is often a standard autumnal ritual. But for folks who are new to homeownership, installing window insulation kits may be a completely new task—so we’re here to give you the complete run-down. Window Insulation kits all follow the same basic idea—you put a sheet of material over your window panes, secure it in place with tape or magnets, and seal it up with a hair dryer. If you’ve ever wrapped up leftovers in freezer bags, or stored your sweaters in space bags, you get the concept. It’s a great entry-level DIY project.What type of insulation kit should I use?
Before you venture out to your local home store, let’s talk about the different kits available.Plastic Film Insulation Kits
These kits use a layer of plastic sheeting that stretches over your window to create an insulation effect. They attach to the frame with either magnets or double-sided tape. These types of insulation kits are very common. They are typically clear and come in a variety of film thicknesses. Standard window film is about .7 millimeters thick, while heavy-duty film can be as thick as 1.5 millimeters. The thicker the film, the higher the insulation effect. Thicker film is also less likely to tear. If you know you have little kids in the house or if your pet likes to jump up on your windows, we suggest you go with a thicker film. Magnetic kits require you to install magnetic strips around your window and attach the film to them, while double-sided tape sticks your plastic film directly to the window frame. There is a bigger margin of error on magnetic kits, but you don’t always get as tight a seal as the double-sided tape kits.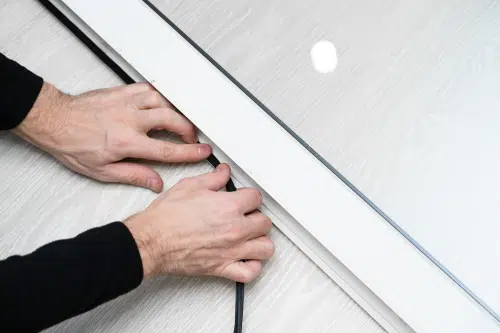
Reflective Foil Insulation Kits
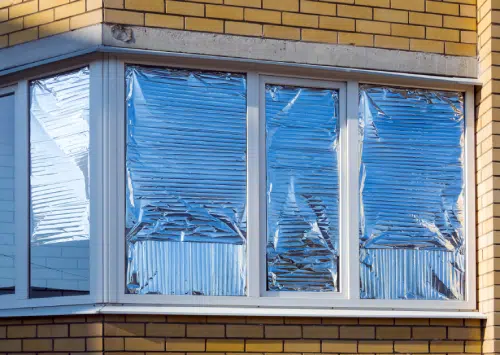
You’ll also find some kits that use reflective foil insulation. Reflective foil has the advantage of providing a higher degree of insulation. However, these kits are not as popular: not only are they more expensive, but they block out light and are trickier to install. Reflective foil insulation kits may be appropriate for basement or attic windows during the winter months, but will turn your bedroom, living room, and kitchen into a dark den. For those who still want sunshine indoors during the winter, these aren’t your best option.How to Install your DIY Window Insulation Kit
As the most popular and practical option, we’ll be talking primarily about plastic window insulation kits that use double-sided tape. Once you’ve decided what type and thickness of window insulation kit works for you, you’ll need to order them. If you know your window dimensions and the number of windows you’ll be covering, a little back-of-the-envelope math can tell you how many kits you’ll need to purchase. Once you have your kits ordered, you can expect to complete this project in only a few hours. Like most DIY projects, your first window may take a little longer, but you’ll quickly get the swing of things. First, you’ll want to gather your materials. All you’ll need for this project is:- Scissors
- A measuring tape
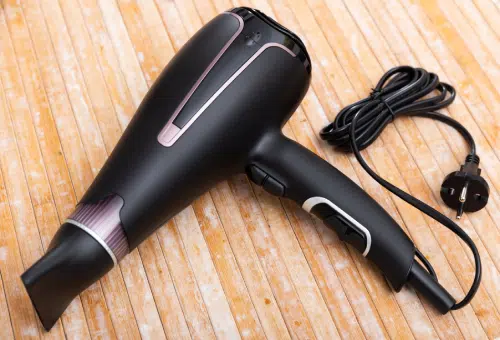
- A hair dryer
- A step stool (if your windows are tall)
- A screwdriver (if you need to remove window blinds)
Is plastic window insulation film permanent?
Most kits are marketed and sold as a temporary solution for seasonal changes in the climate. They’re installed in the early fall and removed sometime in the spring. Let’s be honest—once spring comes, you’ll probably want to be able to open your windows and air out your home! The cross-ventilation you can get from opening and closing your windows in the warmer months is a great strategy for reducing your energy bills during the summer. If you think you may want to use an installation kit more than once, it’s smart to invest in a kit with thicker film. Kits with film .7 millimeters or thicker can be removed from the double-sided tape with less likelihood of tearing. You can fold them up, store them away and bring them out next fall. Last season’s double-sided tape will need to be removed and thrown away, but next year all you’ll need is a fresh roll of tape.How effective are window insulation kits?
Many window insulation kits claim to reduce your energy consumption by up to 35%. While this is a great marketing strategy for them, it’s best to take these numbers with a grain of salt. Install your kit as best you can, getting as great a seal as possible, and consider these kits just one part of your strategy to lower your heating bills. Window insulation kits are not meant to cover windows that have worn out over time. If your seals are broken, if your window won’t close completely, or if you have glass that is cracked, it’s time to replace your windows.Other window insulation solutions
DIY Recaulking: For older windows
Have you given your windows the maintenance they need? Part of your window’s original installation process involved caulking your window into place—but all caulk wears out over time. If you notice that your caulk appears discolored or cracked, it’s time to have it redone. If you don’t already know how to redo caulk, it’s a very smart skill to pick up. After all, you’ll also need to keep an eye on the caulk around your kitchen sink and in your bathrooms. If your window caulk is in poor shape, it’s relatively simple to take a weekend and recaulk your windows.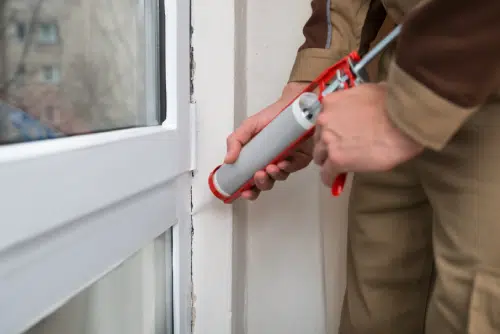
Thermal curtains: For extra winter protection
Another common winter window insulation tactic is to put up thermal curtains. Many homeowners will make it a habit to take down lighter summer draperies and swap them out for heavier curtains. Thicker materials like velvets and brocades will keep a room warmer, but thermal curtains take it a step further. Thermal curtains are backed with an additional layer of synthetic material like vinyl. When they are closed, they double as blackout curtains and keep the room comfortable. If you have family members that suffer from allergies or asthma, you may want to steer clear of this solution. Heavy curtains, while better insulators, are also more likely to trap dust and mold.